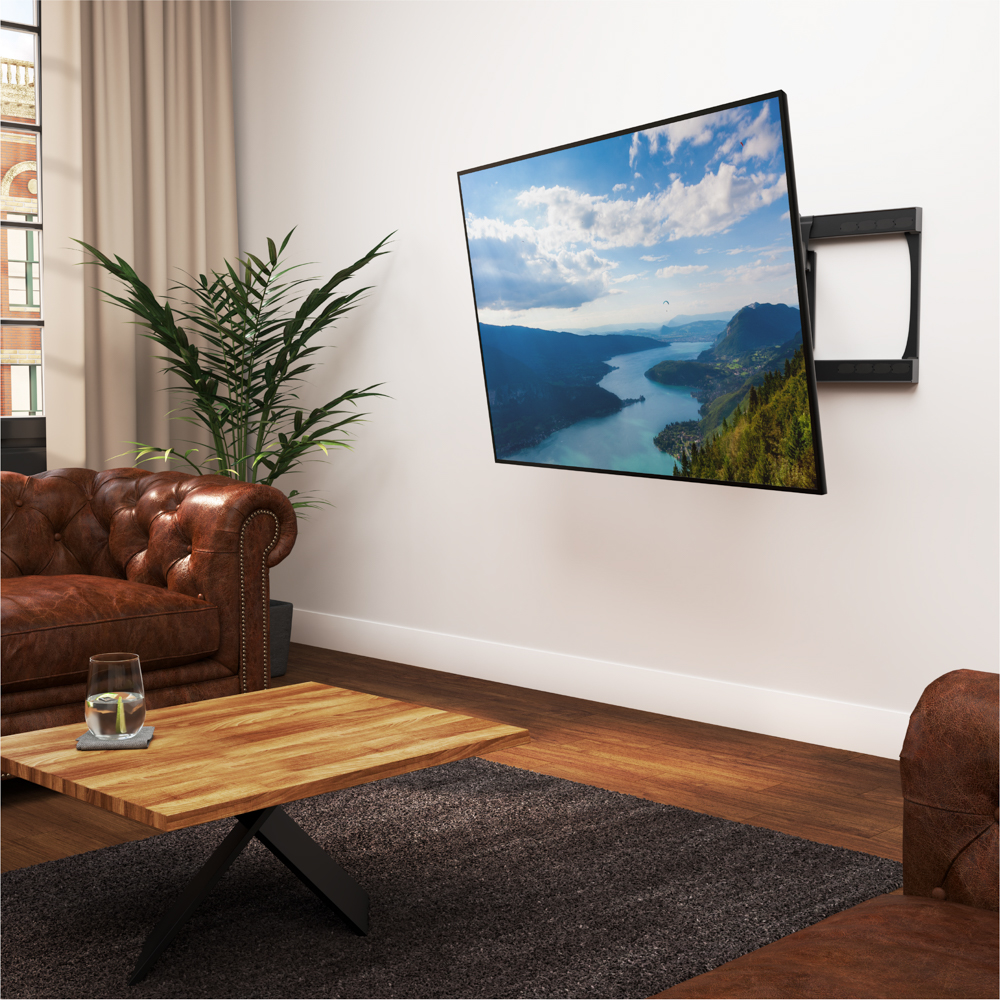
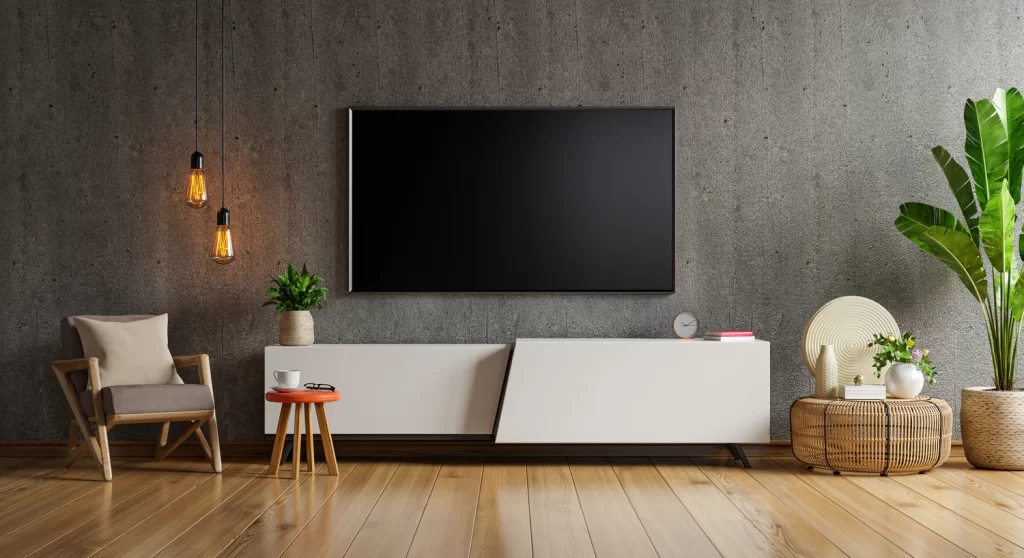
Mounting your TV on the wall is a great way to save space and create a sleek, modern look in your home. However, achieving the perfect viewing angles is essential for a comfortable and enjoyable viewing experience.
In this comprehensive guide, we’ll walk you through the steps to adjust your TV mount for optimal viewing angles, ensuring that everyone in the room has the best seat in the house. You can find more at https://tvwallmounting.ca/ for more on TV installation.
Why Optimal Viewing Angles Matter
Optimal viewing angles are crucial for several reasons:
- Comfort: Incorrect viewing angles can lead to neck strain and discomfort, especially during extended viewing sessions.
- Image Quality: Viewing the TV from the correct angle ensures the best image quality, with accurate colors and minimal distortion.
- Immersive Experience: Proper viewing angles can enhance the viewing experience, making you feel more immersed in the content.
Preparation and Tools Needed
Before you begin adjusting your TV mount, gather the following tools and materials:
- Tape measure
- Pencil
- Level
- Screwdriver
- Allen wrench (if required by your mount)
- Patience and attention to detail
Step-by-Step Guide to Adjusting Your TV Mount

Step 1: Assess the Current Setup
Start by evaluating the current positioning of your TV. Consider the following factors:
- Height: Is the TV positioned at eye level when seated?
- Tilt: Is the TV tilted upward or downward?
- Swivel: Can the TV be swiveled left or right for optimal viewing from different angles?
- Distance: Is the TV at an appropriate distance from the seating area?
Step 2: Determine Ideal Viewing Height
The ideal viewing height for your TV depends on your seating arrangement and the size of the TV. Here’s a general guideline:
- The center of the TV screen should be at eye level when seated.
- Measure the distance from the floor to the viewer’s eye level when seated.
- Adjust the TV mount to achieve this height, making sure it’s level using a spirit level.
Step 3: Adjust Tilt Angle
Tilt adjustment allows you to angle the TV up or down for the best viewing experience. Follow these steps:
- Use the tilt adjustment mechanism on your TV mount to tilt the TV to your desired angle.
- Consider the viewing height and seating arrangement when adjusting the tilt angle.
- Avoid extreme angles that may cause discomfort or affect image quality.
Step 4: Adjust Swivel Angle
Swivel adjustment allows you to rotate the TV left or right for optimal viewing from different angles. Follow these steps:
- Use the swivel adjustment mechanism on your TV mount to rotate the TV to your desired angle.
- Consider the layout of the room and seating positions when adjusting the swivel angle.
- Ensure smooth movement without any resistance or wobbling.
Step 5: Check for Glare and Reflections
Glare and reflections can affect image quality and visibility. Follow these steps to minimize glare:
- Position the TV to minimize glare from windows, lamps, or other light sources.
- Use curtains or blinds to control natural light during daytime viewing.
- Consider an anti-glare screen protector or filter if glare is unavoidable.
Step 6: Test Different Viewing Positions
Once you’ve adjusted the TV mount, test the viewing angles from different positions in the room:
- Sit in various seating positions to ensure everyone has a clear view of the screen.
- Check for any obstructions or reflections that may affect visibility.
- Make any necessary adjustments to optimize the viewing experience for all viewers.
Tips for Optimizing Viewing Angles
- Center the TV: Position the TV so that it’s centered relative to the seating area for the best viewing experience.
- Consider Seating Arrangement: Adjust the TV mount to accommodate different seating arrangements, such as sofas, chairs, or recliners.
- Mind the Distance: Ensure the TV is positioned at an appropriate distance from the seating area to avoid eye strain.
- Use a Spirit Level: Always use a spirit level to ensure the TV mount is perfectly level for optimal performance.
- Double-Check Adjustments: Periodically check and readjust the TV mount as needed to maintain optimal viewing angles over time.
Common Mistakes to Avoid
- Mounting Too High or Low: Avoid mounting the TV too high or too low, as this can cause neck strain and discomfort.
- Ignoring Tilt and Swivel Adjustments: Take advantage of the tilt and swivel adjustments on your TV mount to optimize viewing angles for different seating positions.
- Not Considering Glare: Be mindful of glare from windows or light sources when positioning the TV, as it can affect visibility and image quality.
- Forgetting to Test: Always test the viewing angles from different positions in the room to ensure an optimal viewing experience for all viewers.
Final Words
Adjusting your TV mount for optimal viewing angles is essential for a comfortable and enjoyable viewing experience. By following the steps outlined in this guide, you can ensure that everyone in the room has the best seat in the house. Whether you’re watching movies, gaming, or simply relaxing with your favorite TV show, optimizing viewing angles will enhance the overall experience and make your home entertainment setup even more enjoyable. So take the time to adjust your TV mount properly and enjoy crystal-clear images from every angle!


